The 3D Printing journey started off with just some .STL files created in both the Adobe Program Fusion 360 as well as their online program Tinkercad.com. STL files define the shape of an object by representing its surface as a mesh of interconnected triangles. This simplicity makes them easy to use for 3D printing because most 3D printers operate by layering material on top of each other.
Above Right - BOX.STL Above Left: Numbers.STL


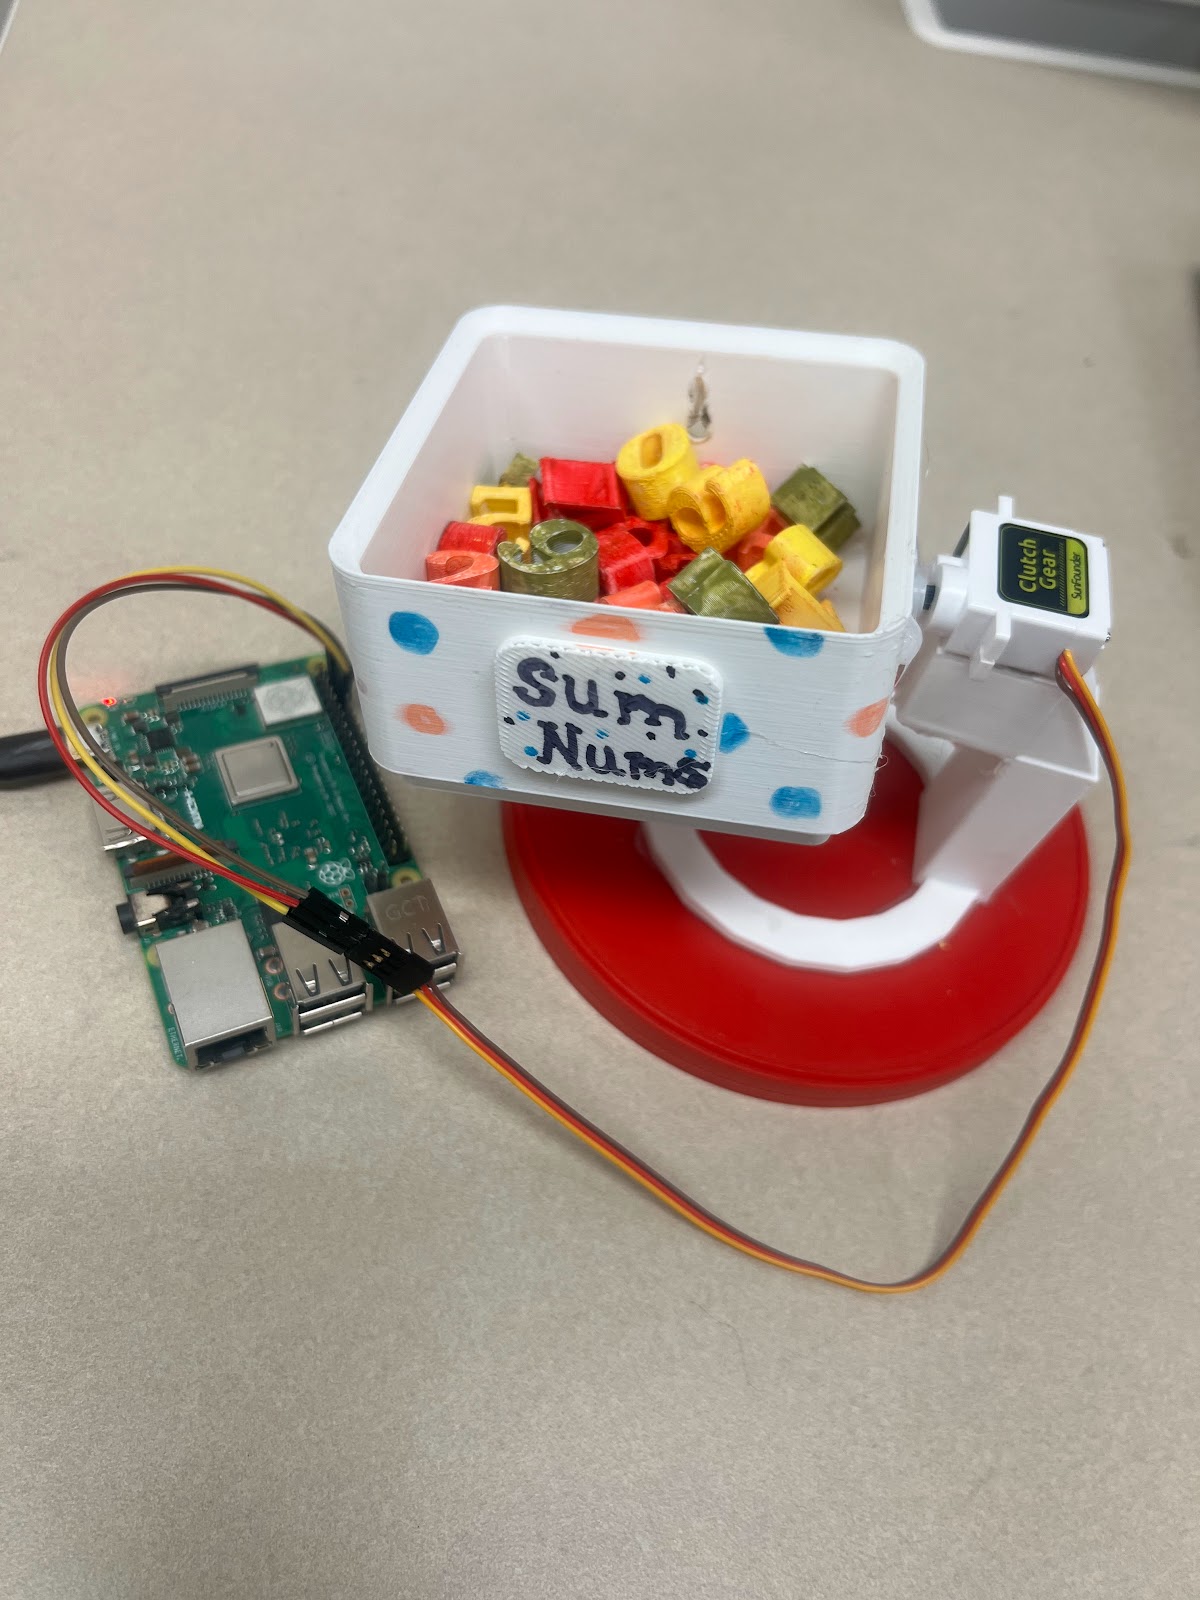
Printing took place in the Delaware State University Maker's Space Lab. The printing components of this project were done in 3 separate parts each taking between 1 hr - 3.5 hours to print. (Box, Numbers x3 , and a Stand) The stand (as shown on the above right picture) was later created to support the box as well as the servo that will power the movement of the Exterior Component.
In the final implementation of the exterior component was hand-painted 3D printed numbers as well as the other printed components conjoined with heat and as well as glue. The servo was programmed through a Raspberry Pi. The Raspberry pi we named "Zelda" allowed me to use Python to code coordinated movements of the servo to have the box that I attached turn over and in turn spill the numbers for a Num Spill. The Python code was attached to Zelda therefore when we called for it in the Greenfoot Java code in adjunction to its IP number, we were able to call for the movement of the servo!
BY: Laur Pluviose
BY: Laur Pluviose


Comments
Post a Comment